
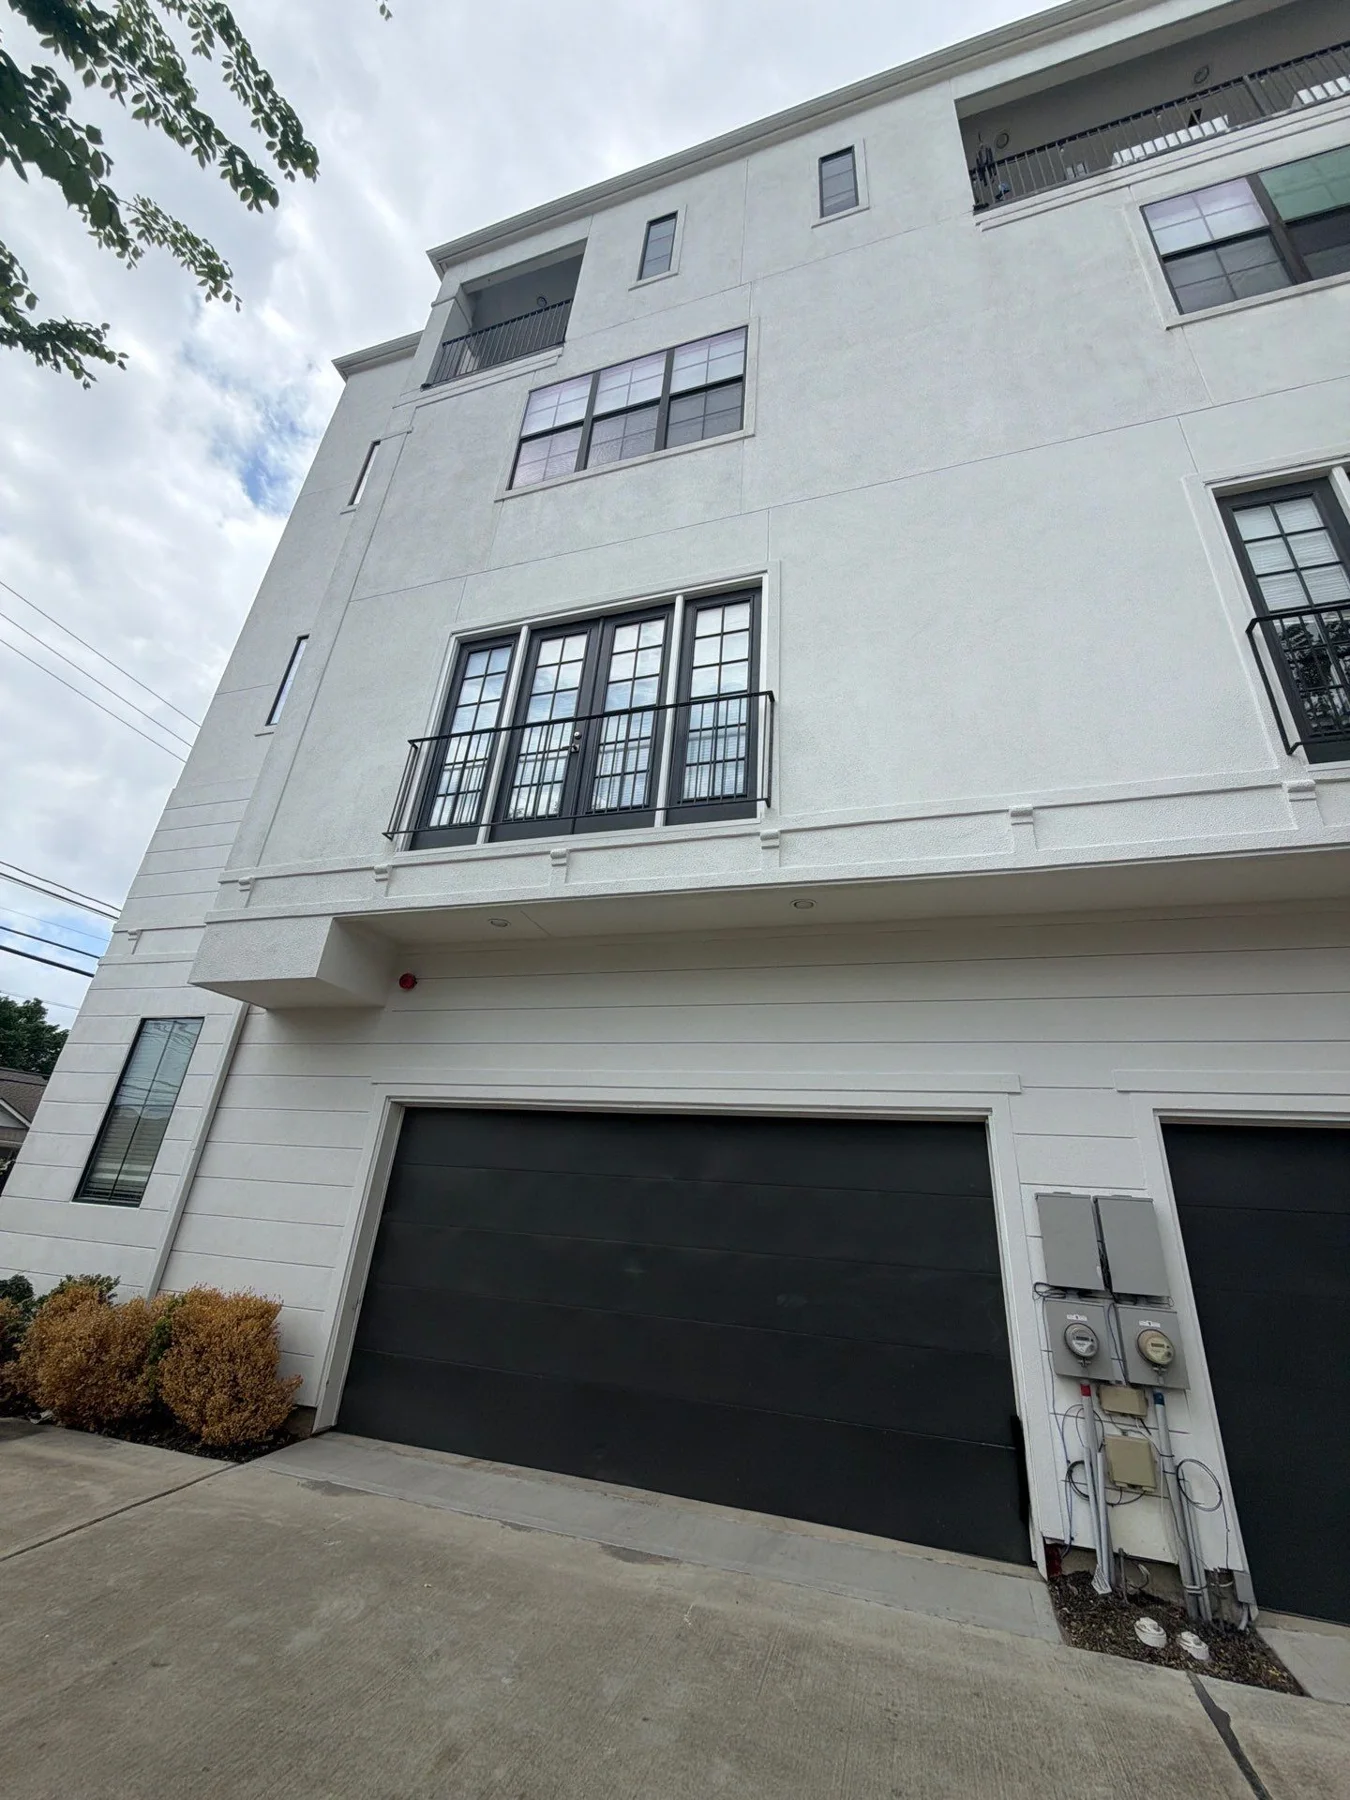
A larger exterior restoration is easier to manage when the work is broken into clear stages. For an occupied home or townhome, that plan should cover daily access as well as the finished appearance.
Stage 1: Define the problem and the boundaries
Review the inspection findings and mark the included elevations. Separate active repair needs from optional design changes. Identify any areas that still need investigation and agree on how those findings could change the scope.
Stage 2: Coordinate access and adjoining work
Discuss scaffolding, parking, entry doors, landscaping, and neighbors where access is tight. Confirm the sequence for windows, roof details, balconies, and the stucco surrounding them. Ask who is responsible for protection between work stages.

Stage 3: Document repairs as they happen
Request photographs of opened areas and important concealed details. Additional work should be described and approved rather than disappearing into an unexplained final bill. Structural or specialist findings may require a revised plan before the exterior can be closed.
Stage 4: Approve the finish
Review texture and color samples on the actual building where practical. Confirm whether painting covers an entire elevation or stops at specified boundaries. Allow for the curing and application conditions of the chosen materials.
Stage 5: Walk through and keep the records
Compare the completed work with the agreed scope. Record outstanding items, product names, maintenance needs, and warranty terms. Keep the final photographs with the reports that started the project.
Monolite's multi-stage project galleries show examples of exterior work in progress. Use them to discuss the stages your own restoration will need.